How to sheet mulch
If you've gardened from scratch, you know how backbreaking it is to till the soil. Just as spinning a yard of yarn with a drop spindle makes me appreciate both the countless woman-years of effort that went into making clothes in the past 20,000 years and modern spinning and weaving machinery, so tilling even a few feet of garden bed makes me appreciate the wonders of sheet mulch.
I'll admit that sheet mulch isn't for everyone. Maybe you only have a few feet of gardening space. Maybe you miraculously have no weeds and rich, tilthy soil. Maybe you adore weeding and have knees and a back of iron. If you have none of these things, sheet mulch is probably a good idea for you and your garden. Sheet mulch is an excellent way of introducing lots of organic matter, something that the tough clay soils of the Bay Area need greatly — without back-breaking digging and tilling.
Much has been written about sheet mulch. Everyone seems to have different experiences. Some swear mulching will bring hoardes of slugs to eat your plants. Some say it robs roots of air. I've had excellent experiences with it in a variety of circumstances, and can recommend nothing better for keeping the soil moist, keeping down weeds, beautifying the area and preventing erosion.
A sheet mulch is a layered effect. First, cut down all the plants you don't want in an area. Then add any compost you want directly on the soil (coffee grounds are great here, as are any seedy or weedy composts you have on hand. Then lay on your sheets. Water them down and step on them (this helps shape them to the ground and absorb more water. Then lay on your organic matter. Water that in. That's it.
Choosing your materials
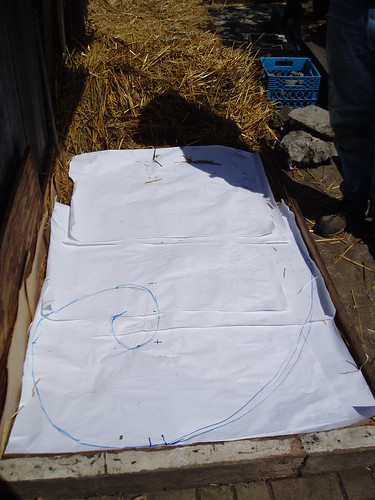
Before you start, you'll need to acquire your materials. I almost invariably use cardboard, but some folks swear by newspapers (though it can be tricky to lay your hands on so many), old wool carpet, phone books (I'm not kidding), felt and old sheets. I got my hands on a roll of old architectural drawings, which are nice for small spaces. My basic rule of thumb for sheet mulch materials is that you need about five times as much as you think you could possibly use.
I favor cardboard because it's easy to harvest in an urban area, is easy to work with, can be cut through in place for plantings and does an excellent job of keeping weeds from coming through. I had previously haunted appliance stores for my supplies, which worked very well in the Santa Rosa area. I recently discovered that auto body shops get their new fenders, etc. shipped in enormous, heavy boxes. Your area probably has a semi-industrial street/city highway with lots of auto body and furniture shops on it. Cruise down it early on a weekday morning and you'll probably see workers tossing big cardboard boxes out the front door as they unpack them. That's the time to grab them, and the employees are usually happy to let you haul them away. If somewhat puzzled. If you have a friendly relationship with a store that gets shipments in cardboard boxes, ask about coming in when they unpack them and taking them away. Some places sell their boxes or have other arrangements, so be prepared to take no for an answer.
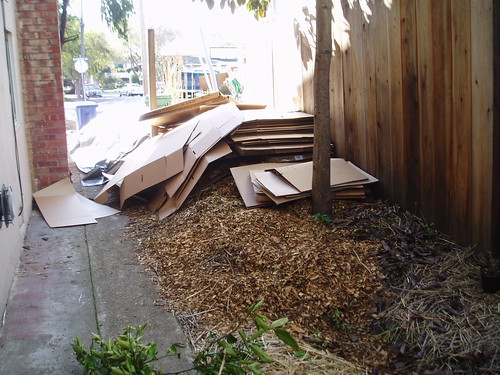
Yes, that's an enormous pile of cardboard. It looks bigger than it is because it's on top of the enormous pile of wood chips that I asked a tree trimmer to drop off at my house.
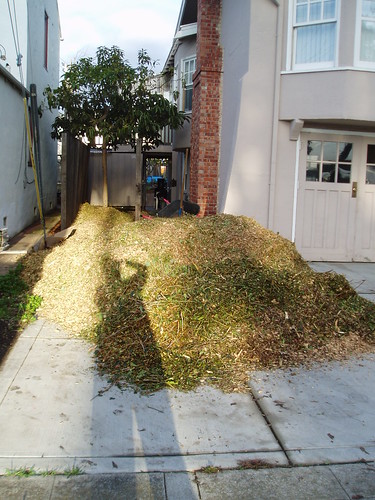
Call around to the various tree trimming businesses, like Ponderosa in Berkeley. They'll drop off freshly chipped tree trimmings for free. The catch? You need a big driveway for them to dump it in, and many can't give you notice before they dump. So you come home one day and find 20 yards of wood chips in your driveway. For perspective, that pile above was about 6 or 8 yards. If you're willing to pay money, you can get nicer wood chips, screened and composted, delivered on schedule.
Wood chips aren't the only mulch, and you don't want to use them in areas where you'll be planting vegetables. Straw is a nice mulch (though you're much more likely to track it back into your house). You can get straw (not hay - hay is the tops of the plants and has a lot of seeds in it) at some animal feed stores for about $8 a bale. If you like near a horse race track, you can also buy it in the back parking lot for about $5 a bale. Bring cash and a truck.
The organic matter you use depends on what you're mulching for. If you're mulching a walkway, big wood chips are great. If you're mulching in anticipation of planting in the spring, composted manure is perfect. Rotted hay has a strong following for that purpose. Straw is nice because you can walk on it and plant through it (more on that later).
If you want a straw mulch to last a long time, rice straw works great. It's both stiffer and longer-wearing than barley (softest) or wheat (pretty stiff) straw. In California, rice straw comes from the Sacramento Valley rice-growing region. It's generally harder to find than wheat or barley straw because equestrian folks don't tend to use it (people who build with straw greatly favor it for its high silica content).
If you're using straw mulch near plants, particularly wheat straw, check the bales for seed heads. A poorly tuned combine will leave many seed heads in the straw left behind after harvesting the hay. If you mulch with seed-rich straw, you'll end up weeding out hundreds of little wheat plants.
Down to business
If you have your sheets, organic matter and hose, you're ready to start. First, cut down the standing plants you don't want to keep. Some plants, like bermuda grass, blackberry and potato, are really good at punching through sheet mulch. Dig those out as much as possible. You can leave dandelion, grasses and other non-sprouting plants on the soil for the worms to eat. If the soil is dry, water it well before laying down your first layer of sheets.
In your weeding, make sure you do a very thorough job around the edges. The edges are where weeds will tend to come up and destroy your mulch. In some areas, we've taken the precaution of digging out the soil and replacing it with wood chips at the edges. Even if you don't go to those lengths, make sure the ground is good and clear at the edges.
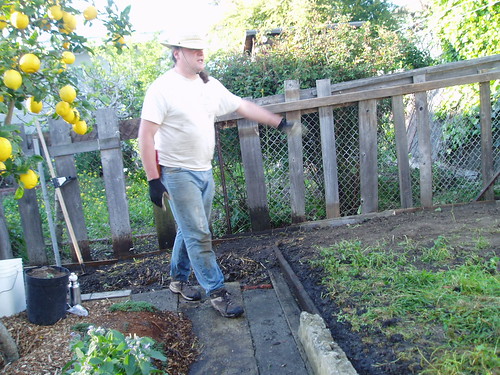
Then you can lay on the cardboard or other sheets. Big sheets are a really good idea.
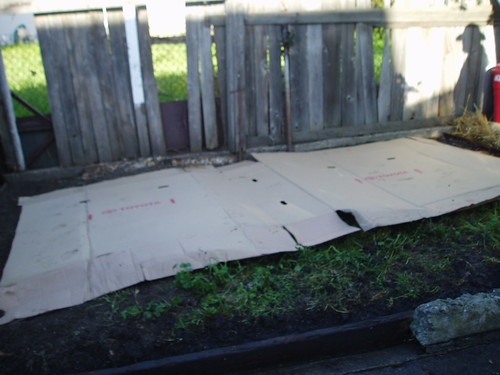
That's a box from an auto body shop. Make sure you overlap the sheets by at least six inches. No part of the ground should be visible, but plants can travel sideways for some distance, so the more you overlap, the harder those plants will have to work to break out. The thicker your layers, the better the chance the plants will run out of root energy before they run out of sheets to go around. If your mulch is going to last more than a year or two, use three layers of heavy-duty cardboard. Make sure the overlaps in your second layer are right where the first layer was most solid.
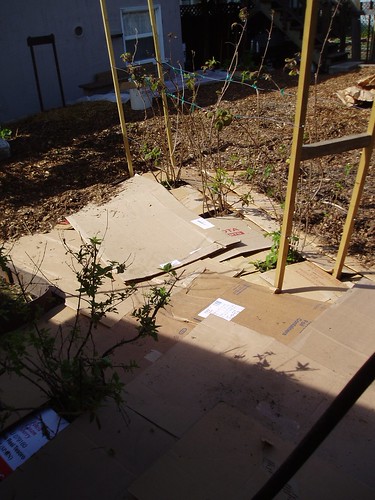
You can tear or lay down the cardboard or other sheets to go around plants you want to save.
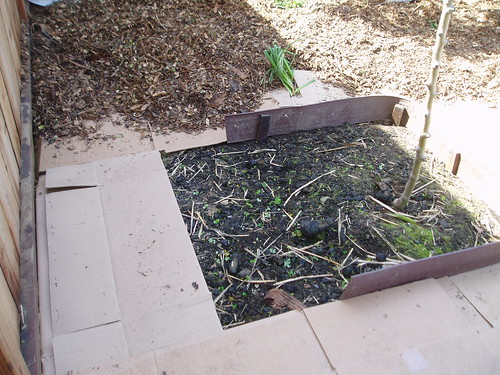
When the layers are done, watered in and trampled, you can add your organic matter.
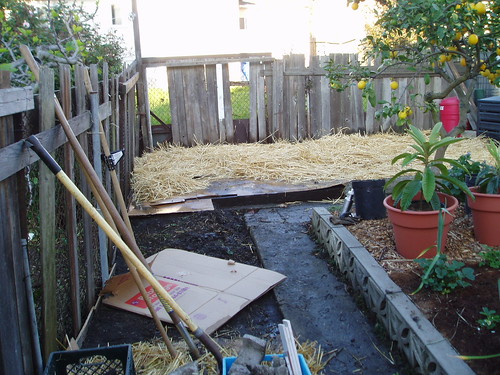
Then water in the organic matter (make sure it's wet all the way through - a sprinker is an excellent way to do this).
And then you'll be all done.
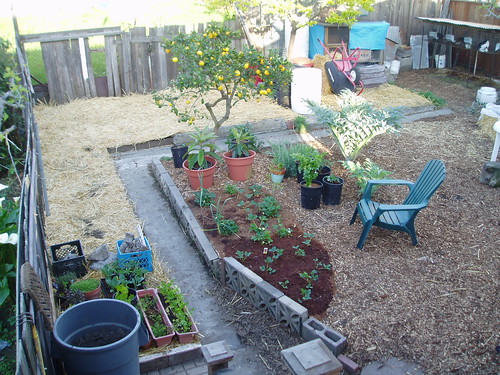
If you're planting right away, you can either built a bed on top of your sheet mulch with soil (like we did with the strawberries, above) or make holes in the mulch to plant into.
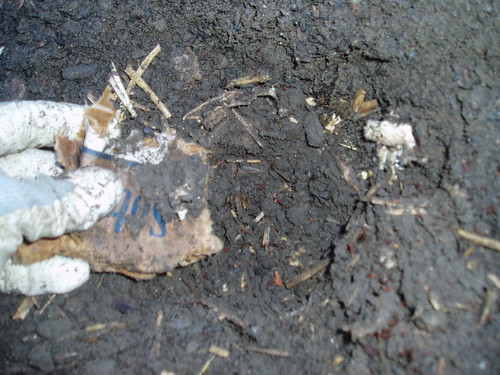
If you've just mulched recently, the soil will still be nasty, sticky clay, so dig the hole about twice as big as the root ball of your plant and amend heavily (I recommend coffee grounds). After planting, tuck the mulch back around the plant. It's nice to mulch around the base of the plant with coconut pith.
It's great to sheet mulch in late fall/early winter. Then the mulch protects the soil from the winter rains, and the organic matter, continually moist, breaks down into fertile soil, ready for your spring plantings. Beneath the cardboard in cover of darkness, the worms are working, transforming that clay soil into worm castings, lovely rich soil that your plants will adore.
Labels: gardening, permaculture
posted by Dawn Pillsbury @ 11:49 AM
17 Comments